Designed for macOS, iOS, and visionOS 27. Requires macOS 14.6, iOS 17.6, and visionOS 1.3 or later.
Instructions
How to use SerialPlotter and SerialBridge.
SerialPlotter
How to use SerialPlotter:
Start with an Arduino project.
Initialize the serial:
void setup() {
  Serial.begin()
}
Print your logs in this format:
SomeKey: 6969 | AnotherKey: 4242Example:Serial.print("Charging Rate: "); Serial.print(currentChargingRate); Serial.print(" | New Charge: "); Serial.print(newCharge); Serial.print(" | Battery: "); Serial.print(batteryChargePercentage); Serial.print(" | Charging: "); Serial.print(charging); Serial.print(" | Light: "); Serial.print(String(lightOn ? "On" : "Off")); Serial.print(" | Dimmer: "); Serial.println(String(dimmerPercentage));Utilize the supported Log Levels (v1.5+):
Serial.print("[INFO] Info level")
Serial.print("[WARNING] Warning level")
Serial.print("[ERROR] Error level")
Serial.print("[DONE] Task complete")
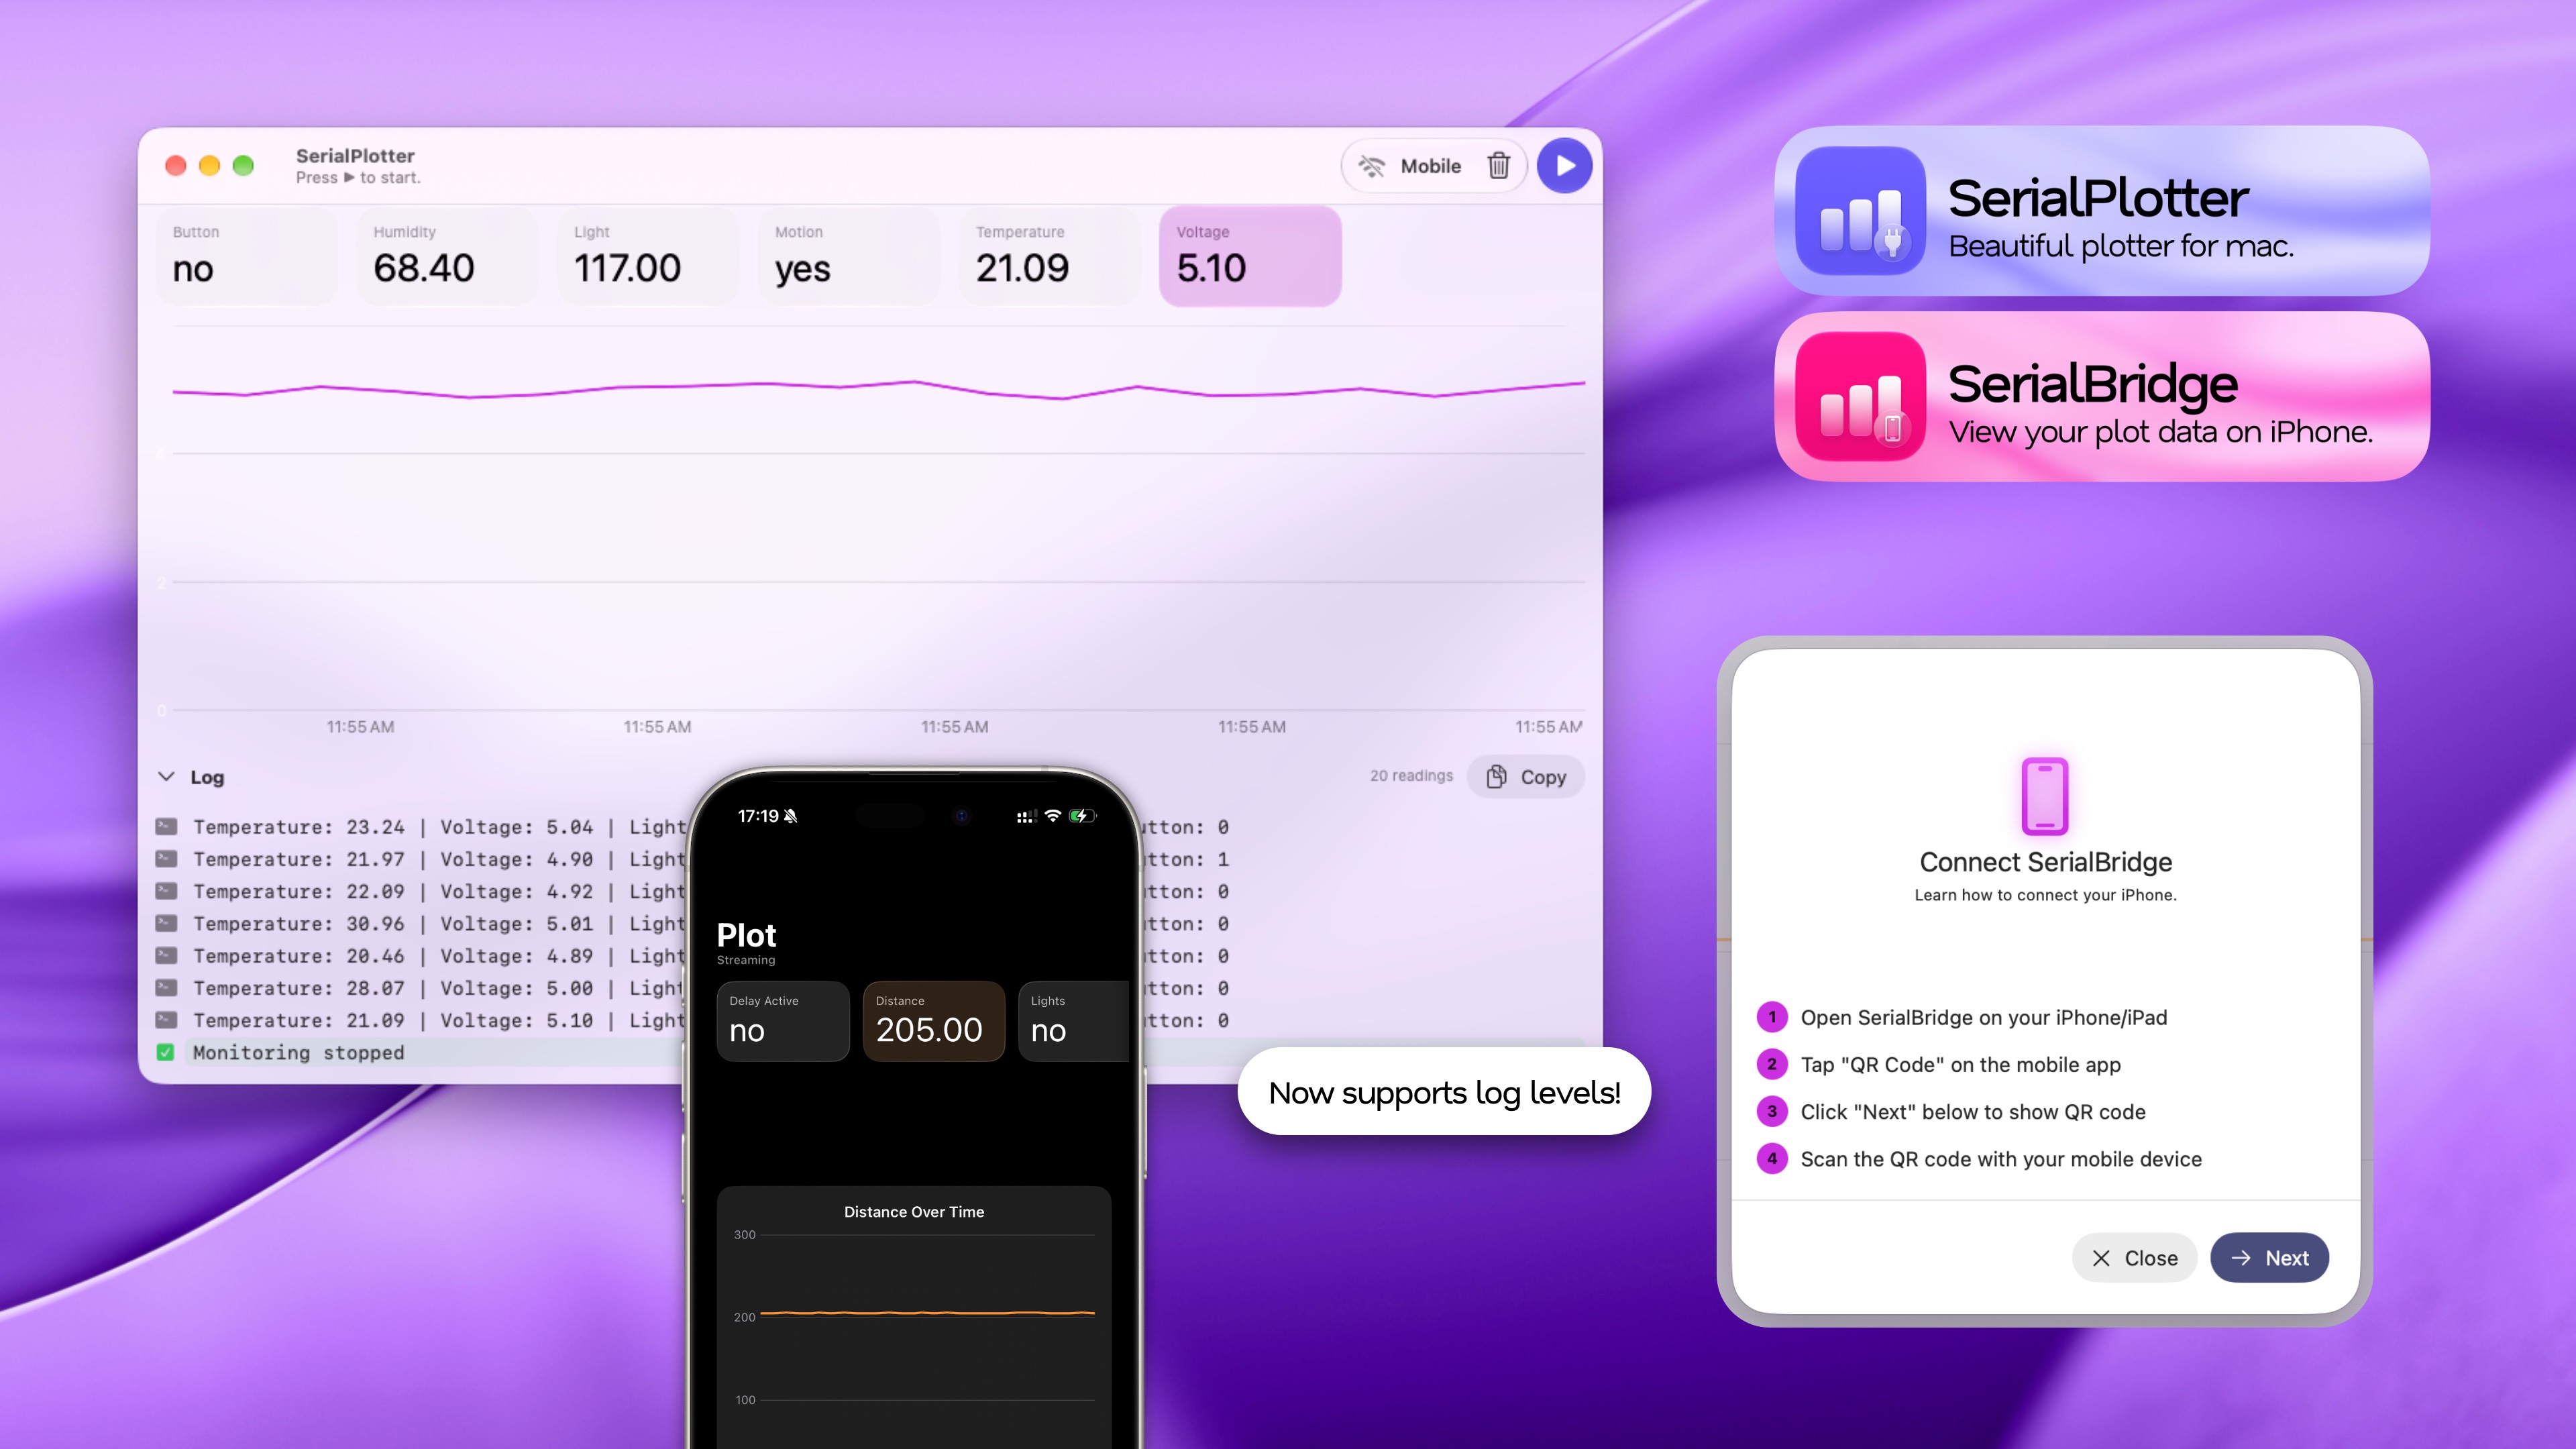
Connect your Arduino to your computer, upload your code, then run SerialPlotter and click on ▶︎.
SerialBridge
How to use SerialBridge:
- Follow the SerialPlotter instructions first.
- Click the "Mobile" button in SerialPlotter.
- Click "Next" in SerialPlotter.
- Open the SerialBridge app and click "QR Code", or simply scan the QR code with the Camera app.
- You should see your data.